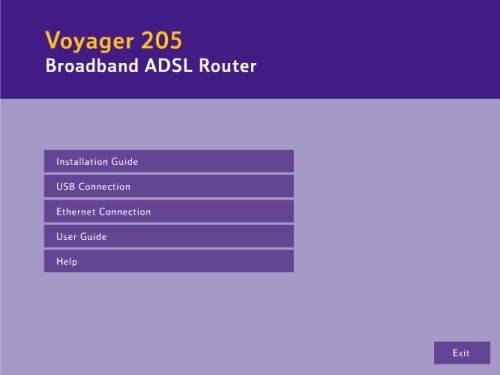
Installing the Voyager 205 - USB connection
Before installing your Voyager 205 Router, please see the document Getting Started with the Voyager 205 Router
A USB connection requires drivers to be installed on your computer. These drivers are included on the installation CD.
IMPORTANT NOTES:
- Please DO NOT connect the Voyager 205 to your computer until instructed to do so.
- Close any applications you have running before starting the driver installation.
- Voyager installs two items in your computers Start menu under Voyager 205 ADSL Router. These are the uninstall utility and a DSL Status utility.
Insert the Voyager 205 CD into your CD drive. After a few seconds the Voyager 205 welcome screen will be displayed. If the screen does not appear after a few seconds, select Run in the Windows Start menu and type D:setup where ‘D’ is the letter for your CD-ROM drive.
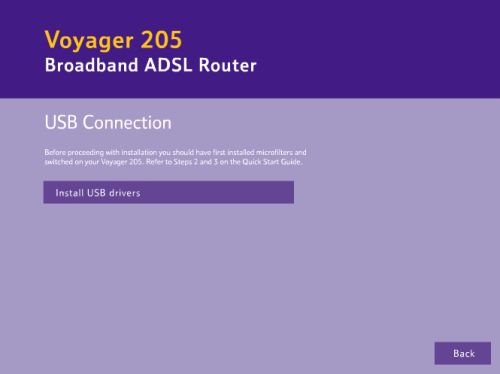
Click on USB Connection.
The USB Connection screen opens.
Click on Install USB Drivers.
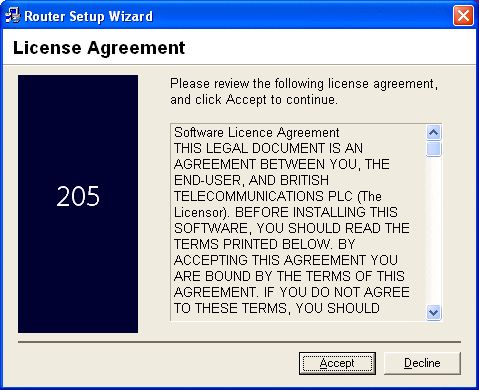
Click Accept to agree to the Software License Agreement, clicking Decline will abort the installation process.
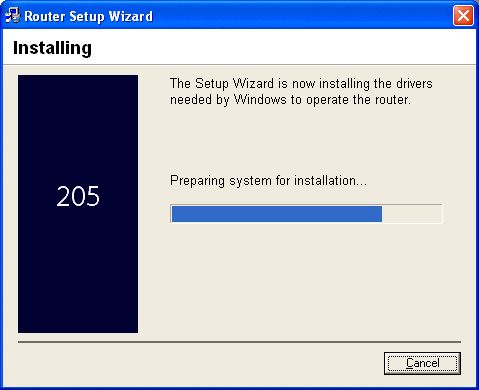
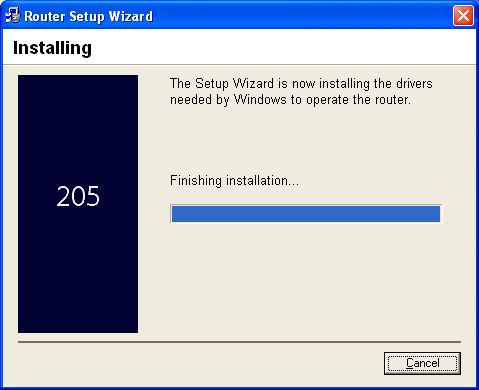
The Router Setup Wizard will now install the drivers needed by Windows to operate the modem.
The driver installation process will ask you to connect the USB cable.
- Plug the flat end of the blue USB cable into the USB port of your computer or USB hub.
- Plug the other end of the blue USB cable into the USB socket at the back of the Router.
It does not matter which end is connected first.

The Windows hardware installation wizard starts automatically. If the hardware wizard does not start, check that you have plugged the Voyager 205 in correctly and that the Power light is ON.
The wizard will now complete the installation of the drivers needed by Windows to operate the router.
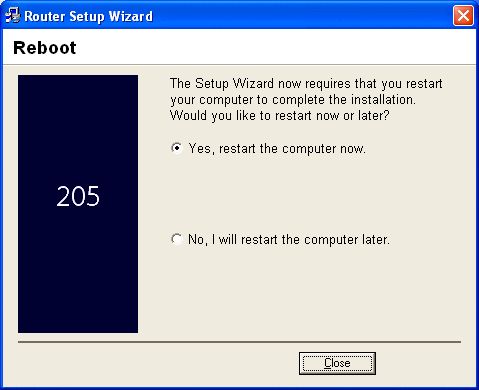
To complete the driver installation process ensure that Yes, restart the computer now is selected and click Close, your computer will now restart.
When the computer restarts, the USB light on the Voyager 205 should now be ON.
You have now completed the installation of the Voyager 205 driver.
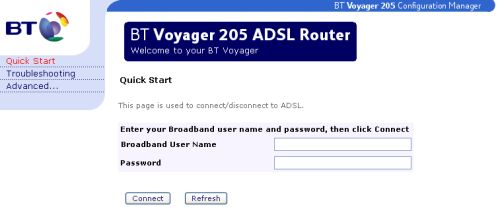
Your Voyager 205 Router is pre-configured for UK Consumer Broadband services using NAT and Dynamic IP address allocation (PPPoA and VC MUX). The only settings you need to configure into your Voyager 205 are the Broadband User Name and Password provided by us.
To set or update your Broadband connection settings, open your web browser and type http://192.168.1.1 into the URL address box. Then press the Enter or Return key.
The Configuration Manager opens at the Quick Start page.
If a Windows dial-up networking screen appears when trying to connect to the Internet, you will need to follow these steps to set-up your browser to stop dialling a connection.
- Click Start, then Settings/Control Panel
- Double click the Internet Options icon
- Click on the Connections tab
- Select Never dial a connection
- Click LAN Settings
- Select Automatically detect settings
This will ensure that Internet Explorer and Outlook Express use the correct settings to connect to the Internet.
If the Quick Start page does not open after installation, restart your computer and then try again. When connecting to the Voyager for the first time, you must ensure that your computer is configured to obtain an IP address automatically as follows.
- Click Start, then Settings/Control Panel
- Double click the Network Connections icon
- Right click the icon for the network adapter you use to connect to your Voyager 205
- Click Properties
- Select TCP/IP for the network adapter you use to connect to your Voyager 205
- Click Properties
- Select Obtain an IP address automatically
- Click OK twice
- Restart your computer
Make sure that your Broadband service is ready by checking that the DSL light is ON and steady
Enter your Broadband User Name and Password into the Broadband User Name and Password fields on the Quick Start screen
Click Connect. The Voyager 205 will now connect you to our Internet service and the Quick Start screen will change to show the connection status. If at any time you wish to disconnect from your Internet service, simply click the Disconnect button.
If you cannot browse the Internet, click Disconnect, then follow steps above again.
With your Voyager 205 Router, your broadband connection is always-on and you do not have to dial-up to initiate the connection. Simply start your Internet browser and surf the Internet. That's it!
For information on Internet security for the Voyager 205 Router, please refer to the following document:
Has this page helped you solve your problem? Your feedback helps us to improve the help we provide.
Rate this page : 


Please note: We cannot reply to individual feedback through Rate My Page. If you need more help with a problem please use Contact Us.
People who read this article also found these useful:
Installing the Voyager 205 - USB connection - Mac OS 10.x


