Installing the Voyager laptop wireless adapter - Win98SE
Please ensure that you have the following items in the Voyager Laptop Wireless Adapter box:
- One Voyager Wireless Adapter
- Quick Start Guide & Installation CD
If you are installing this wireless adapter as part of a wireless network with a Router (e.g. Voyager 2110), you should connect and switch on the Router first.
Important
Only plug your Voyager Wireless Adapter into your computer when instructed to do so during the installation process.
As you are installing on Windows 98SE, you might be prompted for your Windows operating system CD. Please have it ready before you proceed.
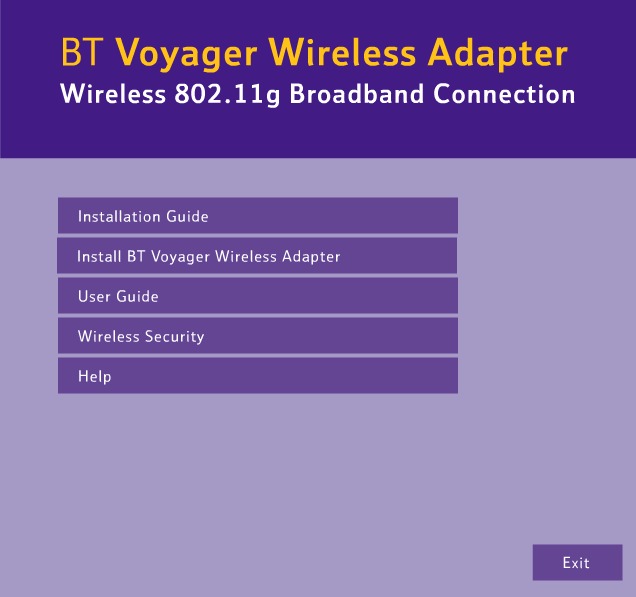
1. Insert the Voyager Wireless Adapter CD into your CD drive. After a few seconds the Voyager Wireless Adapter welcome screen will be displayed. (If the screen does not appear after a few seconds, select Run in the Windows Start menu and type D:setup where ‘D’ is the letter for your CD-ROM drive.)
Click Install BT Voyager Wireless Adapter.
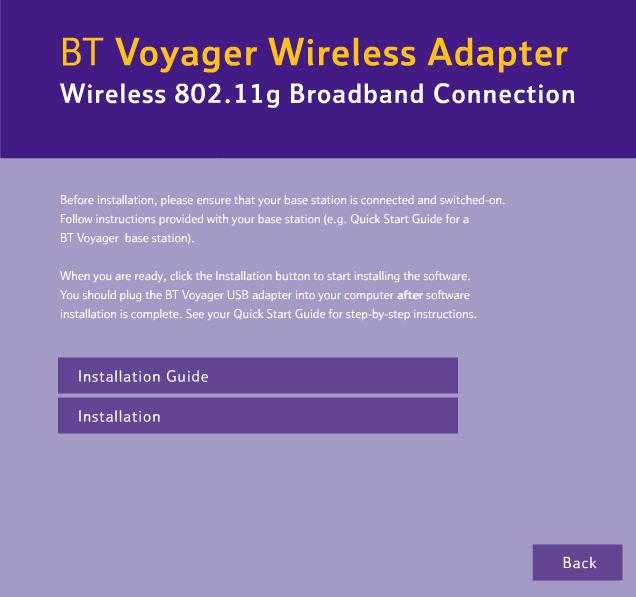
2. The Connection screen opens.
To install, click Installation.
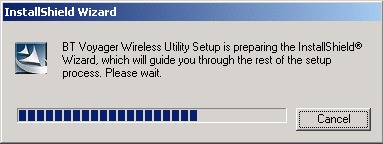
3. The Voyager Wireless Utility Setup is preparing the InstallShield Wizard, which will guide you through the rest of the setup process.
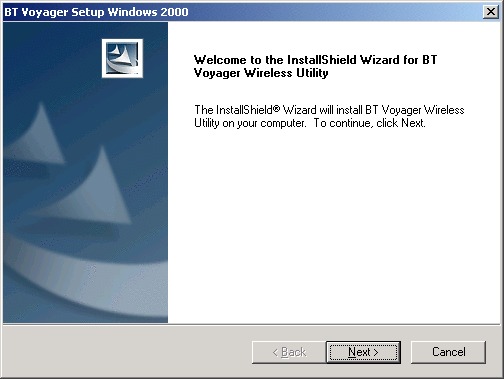
4. Welcome to the InstallShield Wizard for the Voyager Wireless Utility.
Click Next.
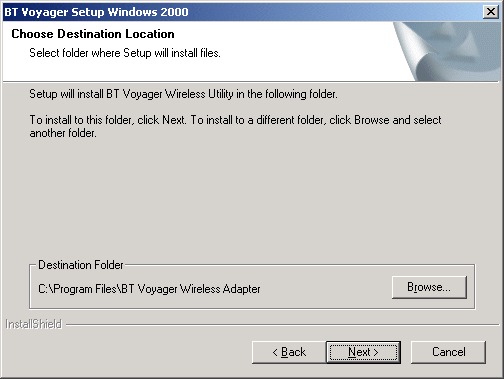
5. Setup will install the Voyager Wireless Utility in the following folder. Click Next to start installing the software. This will take a few seconds.
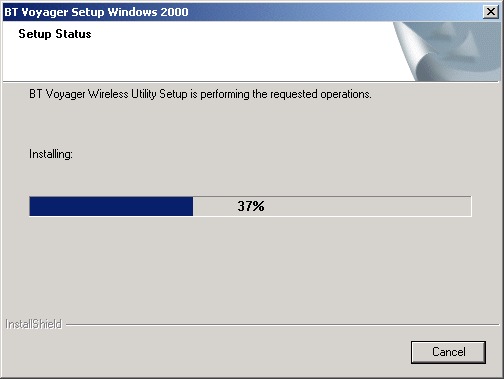
6. Windows will copy the files to your system.
7. Once the software has been installed the InstallShield Wizard Complete screen will appear.
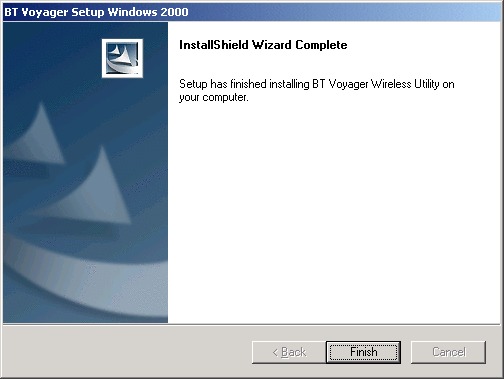
8. Click Finish. The Wireless Utility icon should be displayed in the Windows system tray:
If you are prompted to restart your computer, click No or Restart later.
You are now ready to plug in your Voyager 1050 adapter.
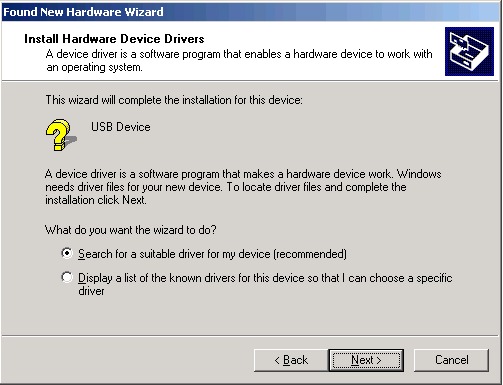
9. Plug your USB Adapter into a free USB port on your computer.
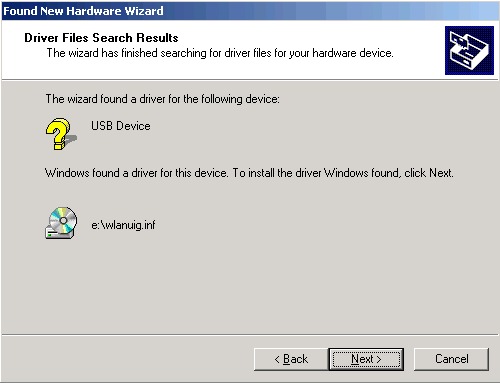
The Add/Found New Hardware Wizard should automatically detect the device.
Select Install the software automatically then click Next to start installing the software. If prompted for the location of the drivers, select CD-ROM.
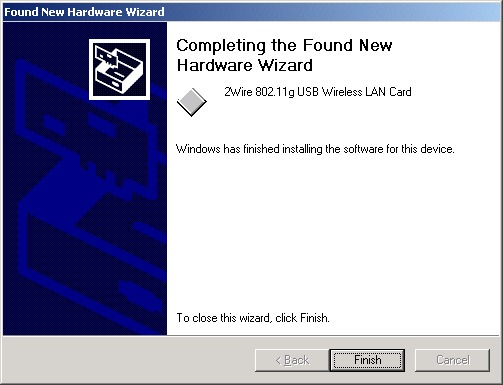
10. When the install has completed click Next.
11. Click Finish.
12. Now restart your computer.
13. You only need to follow instructions below the first time you want to connect to a new network. After the first connection, your network is added to the list of preferred networks and your computer will automatically connect to the network when it becomes available. To set-up a new network connection for the first time:
- Click the utility icon in the Windows system tray

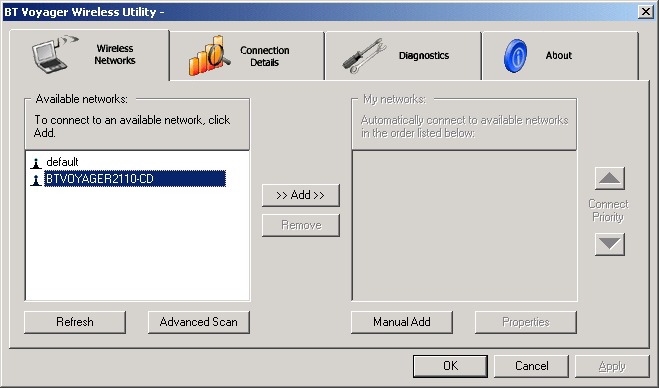
14. This screen lists all the wireless networks currently available and visible.
Follow the instructions below based on whether or not the network is shown in the list.
If you are connecting to a wireless network that is shown in the list, follow these steps:
- Click the network you wish to connect to.
- Click >>Add>>
- If the network you are trying to connect to is secured, you will be prompted to enter the network key. Enter the WEP or WPA-PSK key for your wireless network then click OK. Please refer to the owner of the wireless network or the wireless base station's instructions for where to find the network key. For the Voyager 2100 Wireless Router the network key is printed on the coloured label on the base of the product.
- For security other than WEP or WPA-PSK, please refer to your network administrator. Click OK
- After a few seconds, the icon in the system tray should indicate that a connection has been made with the wireless network. Your computer is now connected to the wireless network and you can now connect to the Internet.
- Click the Manual Add button
- Before entering information on this page, you should speak to the administrator of the wireless network in order to get all the necessary connection detail: Network name (SSID) and Wireless network key.
- In Network name (SSID), enter the name of you wireless network.
- In Wireless network key enter the authentication and encryption type for your wireless network. Then click Properties to enter the network key.
- Click OK
- After a few seconds, the icon in the system tray should indicate that a connection has been made with the wireless network. Your computer is now connected to the wireless network and you can now connect to the Internet.

15. If you are connecting to a wireless network that does not appear in the list, follow these steps:
Note: if the network you are trying to connect to is not currently in range, the icon will not change until you are in range of the network.

Has this page helped you solve your problem? Your feedback helps us to improve the help we provide.
Rate this page : 


Please note: We cannot reply to individual feedback through Rate My Page. If you need more help with a problem please use Contact Us.


