Installing the Voyager laptop wireless adapter - Windows XP
Please ensure that you have the following items in the Voyager Laptop Wireless Adapter box:
- One Voyager Wireless Adapter
- Quick Start Guide & Installation CD
If you are installing this wireless adapter as part of a wireless network with a Router (e.g. Voyager 2110), you should connect and switch on the Router first.
Important
Only plug your Voyager Wireless Adapter into your computer when instructed to do so during the installation process.
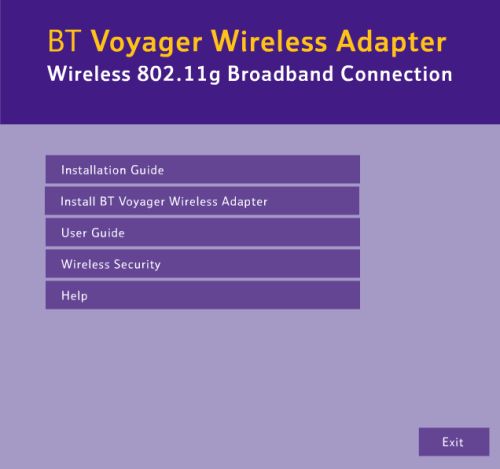
1. Insert the Voyager Wireless Adapter CD into your CD drive. After a few seconds the Voyager Wireless Adapter welcome screen will be displayed. (If the screen does not appear after a few seconds, select Run in the Windows Start menu and type D:setup where ‘D’ is the letter for your CD-ROM drive.).
Click Install BT Voyager Wireless Adapter.
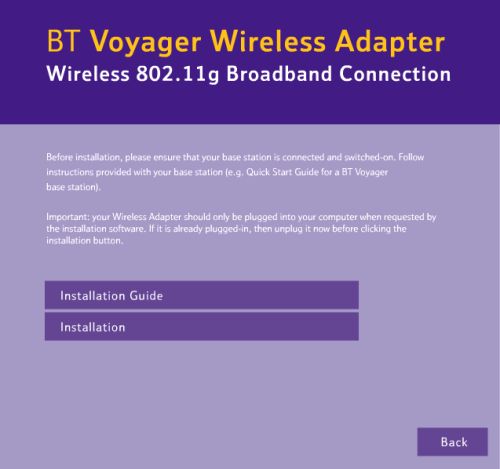
2. The Connection screen opens.
To install, click Installation.
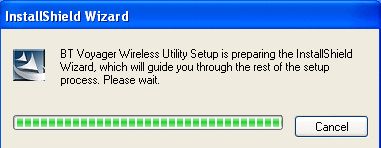
3. The Voyager Wireless Utility Setup is preparing the InstallShield Wizard, which will guide you through the rest of the setup process.
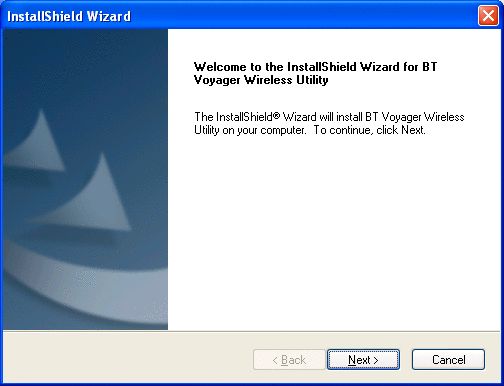
4. Welcome to the InstallShield Wizard for the Voyager Wireless Utility.
Click Next.
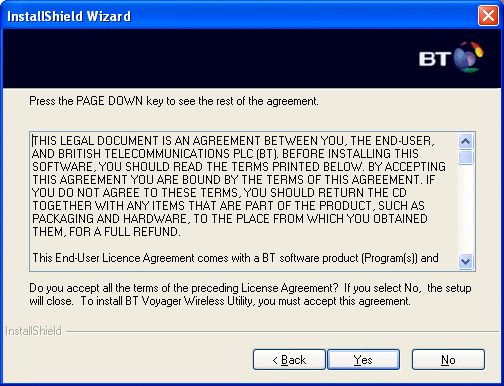
5. Click Yes to accept the Software License Agreement. Clicking Decline will cancel the installation process.
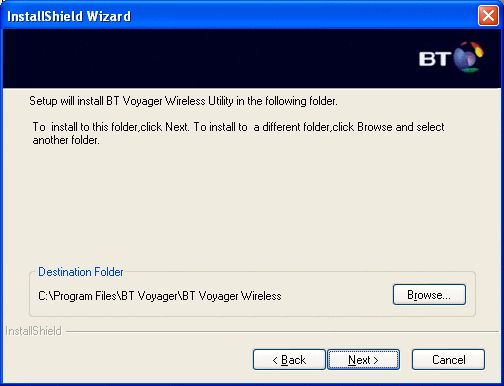
6. Setup will install the Voyager Wireless Utility in the following folder.
Click Next for automatic installation. Windows will copy the files to your system.
7. Plug your Voyager 1060 into your laptop's PC Card slot. This is usually located on the side of your computer.
Windows will detect the new hardware.
Click Next on the Windows wizard screens to install the software.

8. When installation is completed, the Voyager Wireless Utility icon will appear in the Windows system tray in the bottom right of your screen.
Click the Utility icon.
The Connect to Wireless Network screen pops up, listing all the wireless networks currently available and visible.

9. If you are connecting to a wireless network that appears in the list and is not secure, follow these steps:
- Click the network you wish to connect to.
- Select the check box Allow me to connect to the selected wireless network, even though it is not secure.
- Click Connect.
- After a few seconds, the icon in the system tray should show indicating that a connection has been made with the wireless network. Your computer is now connected to the wireless network.
10. If you are connecting to a wireless network that appears in the list and is secured with a WEP or WPA-PSK network key, follow these steps:
- Click the network you wish to connect to.
- In Network key, enter the WEP or WPA-PSK key for your wireless network.
- Click Connect.
- After a few seconds, the icon in the system tray should show indicating that a connection has been made with the wireless network. Your computer is now connected to the wireless network.
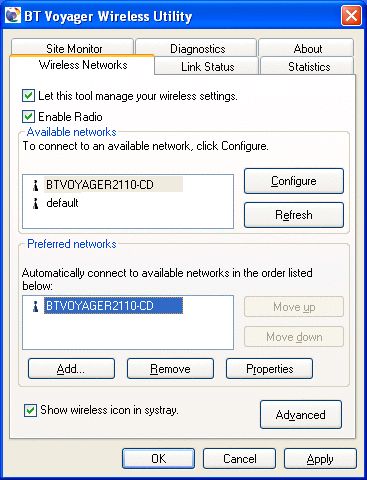
11. If you are connecting to a wireless network that does not appear in the list, click Advanced to open the Voyager Wireless Adapter Utility.
You now have 2 options:
- Your wireless network already appears in the Preferred networks list: click the network, then click Properties.
- Your wireless network is set with hidden network name (SSID) and does not appear in any of the lists: click Add.
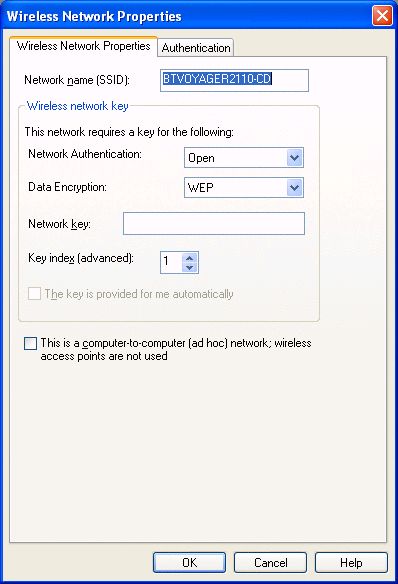
12. If your network is set with hidden network name (SSID), then type the name in the Network name (SSID) box.
If your wireless network is protected with a WEP key:
- From the Data encryption menu, select WEP
- Type the network key in the Network key box.
If your wireless network is set with WPA-PSK security:
- From the Network Authentication menu, select WPA-PSK.
- Type the network key in the Network key box.
For other types of wireless security, please refer to your network administrator.
Click OK.
13. The network name and icon appear at the top of the Preferred networks list. Your computer is connected to the selected network when you see a blue bubble on top of the icon for that network. If the bubble does not appear, click Refresh. If it still does not appear, try to access a Web page to verify that you are connected to the Internet.
Click OK.
14. After a few seconds, the icon in the system tray should show this icon indicating that a connection has been made with the wireless network. Your computer is now connected to the wireless network.
15. To install your Voyager 2110 Router and USB Wireless Adapter, please refer to the following documents:
Has this page helped you solve your problem? Your feedback helps us to improve the help we provide.
Rate this page : 


Please note: We cannot reply to individual feedback through Rate My Page. If you need more help with a problem please use Contact Us.


